Hello amazing people 👋
Hope you guys had great weekend, I surely did 👇
So for quite a while now, I have been using WSL - Windows Subsystem for Linux. It was really impressive to see this from Microsoft and I ever since then, I have loved it for development. So in today's blog I will be sharing how I utilize it with VSCode.
What is WSL?
The Windows Subsystem for Linux lets developers run a GNU/Linux environment -- including most command-line tools, utilities, and applications -- directly on Windows, unmodified, without the overhead of a traditional virtual machine or dualboot setup.
You can:
Choose your favorite GNU/Linux distributions from the Microsoft Store.
Run common command-line tools such as grep, sed, awk, or other ELF-64 binaries.
Run Bash shell scripts and GNU/Linux command-line applications including:
Tools: vim, emacs, tmux
Languages: NodeJS, Javascript, Python, Ruby, C/C++, C# & F#, Rust, Go, etc.
Services: SSHD, MySQL, Apache, lighttpd, MongoDB, PostgreSQL.
Install additional software using your own GNU/Linux distribution package manager.
Invoke Windows applications using a Unix-like command-line shell.
Invoke GNU/Linux applications on Windows.
Instructions - Install WSL
Step 1 - Enable the Windows Subsystem for Linux
Enable the "Windows Subsystem for Linux" optional feature before installing any Linux distributions on Windows. Open PowerShell as Administrator and run:
dism.exe /online /enable-feature /featurename:Microsoft-Windows-Subsystem-Linux /all /norestart
Step 2 - Check requirements for running WSL 2
This step is optional, if you want to run WSL 1, please proceed to step 6.
To update to WSL 2, you must be running Windows 10.
For x64 systems: Version 1903 or higher, with Build 18362 or higher.
For ARM64 systems: Version 2004 or higher, with Build 19041 or higher.
Builds lower than 18362 do not support WSL 2.
Step 3 - Enable Virtual Machine feature
Before installing WSL 2, you must enable the Virtual Machine Platform optional feature. Your machine will require virtualization capabilities to use this feature.
Open PowerShell as Administrator and run:
dism.exe /online /enable-feature /featurename:VirtualMachinePlatform /all /norestart
Restart the machine.
Step 4 - Download the Linux kernel update package
Download the latest package:
Run the update package downloaded in the previous step. (Double-click to run - you will be prompted for elevated permissions, select 'yes' to approve this installation.)
Step 5 - Set WSL 2 as your default version
Open PowerShell and run this command to set WSL 2 as the default version when installing a new Linux distribution:
wsl --set-default-version 2
Step 6 - Install your Linux distribution of choice
Open the Microsoft Store and select your favorite Linux distribution.
From the distribution's page, select "Get".
The first time you launch a newly installed Linux distribution, a console window will open and you'll be asked to wait for a minute or two for files to de-compress and be stored on your PC. All future launches should take less than a second. You will then need to create a user account.
Remote WSL in Visual Studio Code
The Remote - WSL extension lets you use VS Code on Windows to build Linux applications that run on the Windows Subsystem for Linux(WSL). You get all the productivity of Windows while developing with Linux-based tools, runtimes, and utilities.
Remote - WSL lets you use VS Code in WSL just as you would from Windows.
Download the extension.
Getting Started
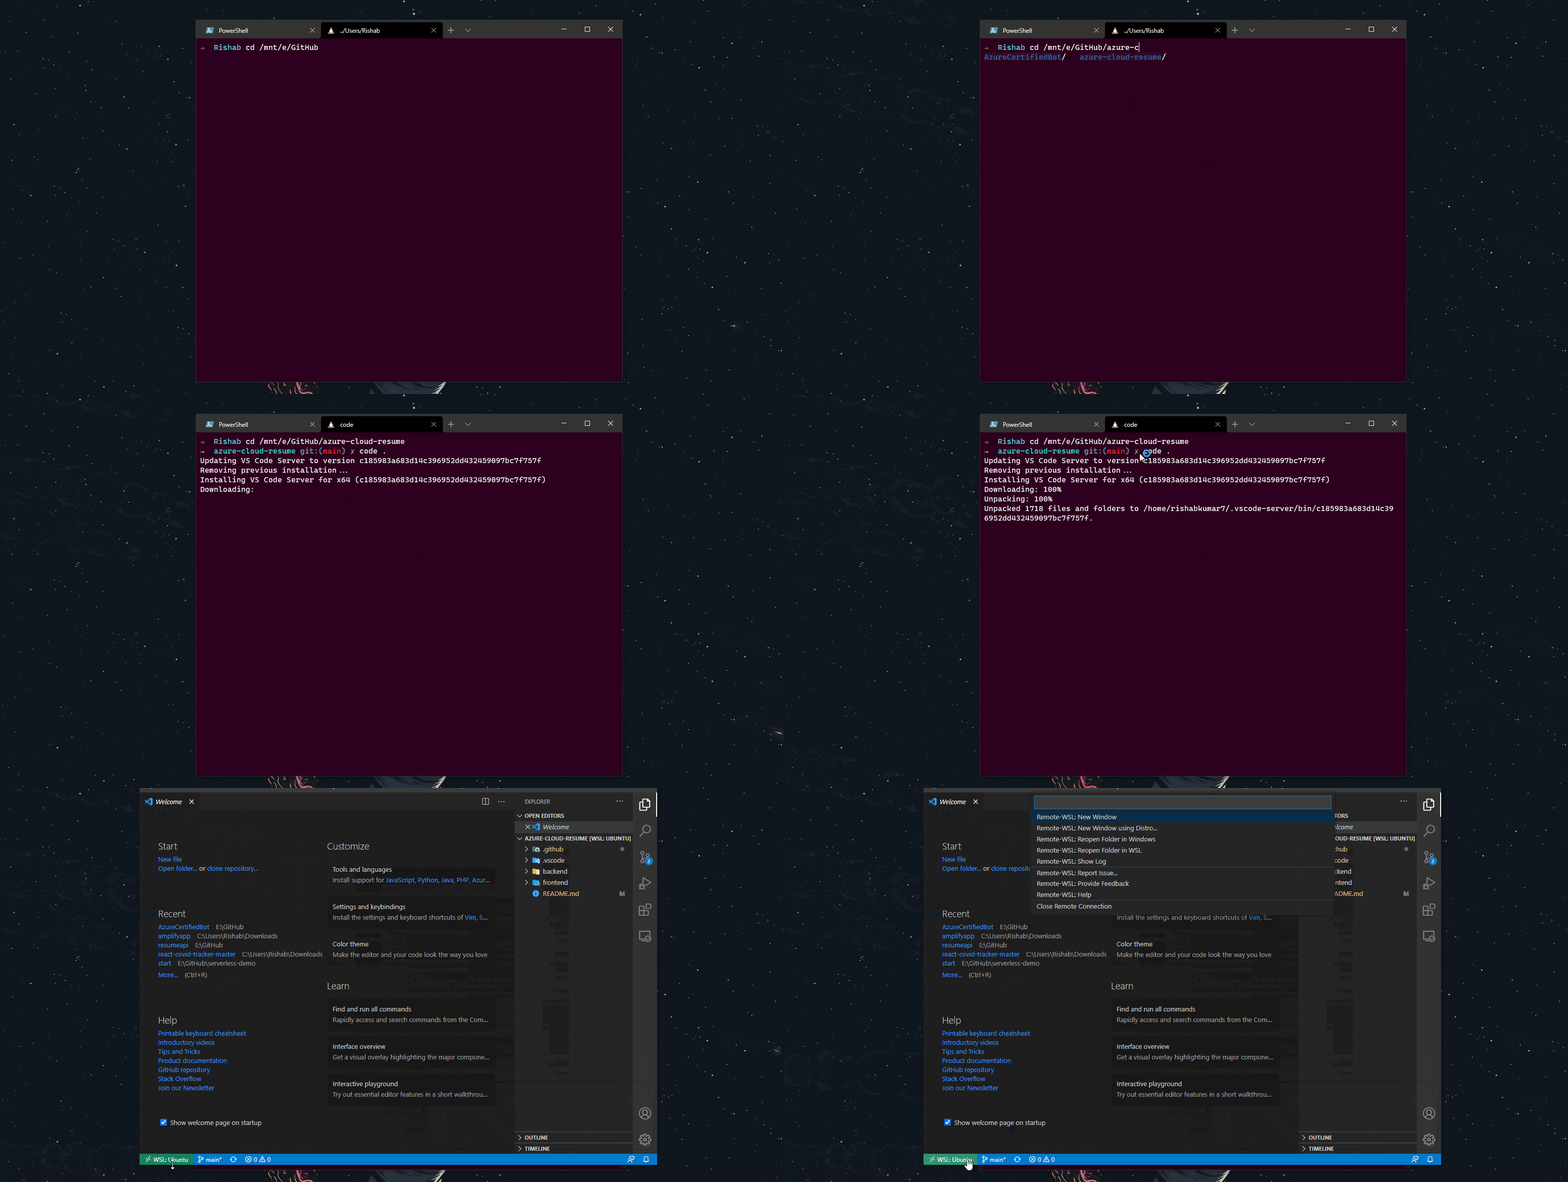
You can launch a new instance of VS Code connected to WSL by opening a WSL terminal, navigating to the folder of your choice, and typing code .:


