Deploying a static website to AWS with Pulumi
Using Pulumi, the IaC tool to deploy a static website to AWS
I am a Developer Evangelist at Twilio, co-author of Learn to Cloud, co-host of Random Cloud Chats podcast, AWS Community Builder, and YouTuber. Passionate about helping people get into cloud and sharing my learnings in cloud, DevOps and now DevRel.
Deploying a static website to the cloud has never been easier, thanks to Infrastructure as Code (IaC) tools like Pulumi. If you're like me, a developer who has used Terraform for your IaC needs in the past, Pulumi offers an alternative that allows you to write code in your preferred programming language (TypeScript/JavaScript, Python, Go, .NET, and Java) to provision and manage cloud infrastructure. In this blog post, we will walk through the steps to deploy a static website to Amazon Web Services (AWS) using Pulumi, ps: this is my first time trying it out.
Installing Pulumi
Since I am doing this demo on a macOS, it is easy with homebrew:
brew install pulumi/tap/pulumi
For Linux, here is the install script:
curl -fsSL https://get.pulumi.com | sh
If you are on Windows, you can download the MSI here.
After installation, here is the list of available commands:
@Rishabs-MacBook-Pro ➜ ~  pulumi
Usage:
  pulumi [command]

Available Commands:
  about          Print information about the Pulumi environment.
  cancel         Cancel a stack's currently running update, if any
  config         Manage configuration
  console        Opens the current stack in the Pulumi Console
  convert        Convert Pulumi programs from a supported source program into other supported languages
  destroy        Destroy all existing resources in the stack
  gen-completion Generate completion scripts for the Pulumi CLI
  help           Help about any command
  import         Import resources into an existing stack
  login          Log in to the Pulumi Cloud
  logout         Log out of the Pulumi Cloud
  logs           Show aggregated resource logs for a stack
  new            Create a new Pulumi project
  org            Manage Organization configuration
  package        Work with Pulumi packages
  plugin         Manage language and resource provider plugins
  policy         Manage resource policies
  preview        Show a preview of updates to a stack's resources
  refresh        Refresh the resources in a stack
  schema         Analyze package schemas
  stack          Manage stacks
  state          Edit the current stack's state
  up             Create or update the resources in a stack
  version        Print Pulumi's version number
  watch          Continuously update the resources in a stack
  whoami         Display the current logged-in user
Other Requirements
Make sure you have AWS CLI configured. You can read more on how to download and configure AWS CLI here.
And for the static website, I am using my terminal-portfolio as an example.
Deploying the site
Now, let's create a new directory for our project.
mkdir static-website && static-website
We'll be using pulumi new to initialize a new Pulumi project in my favorite programming language, Python.
pulumi new static-website-aws-python
Go through the prompts to configure the project.
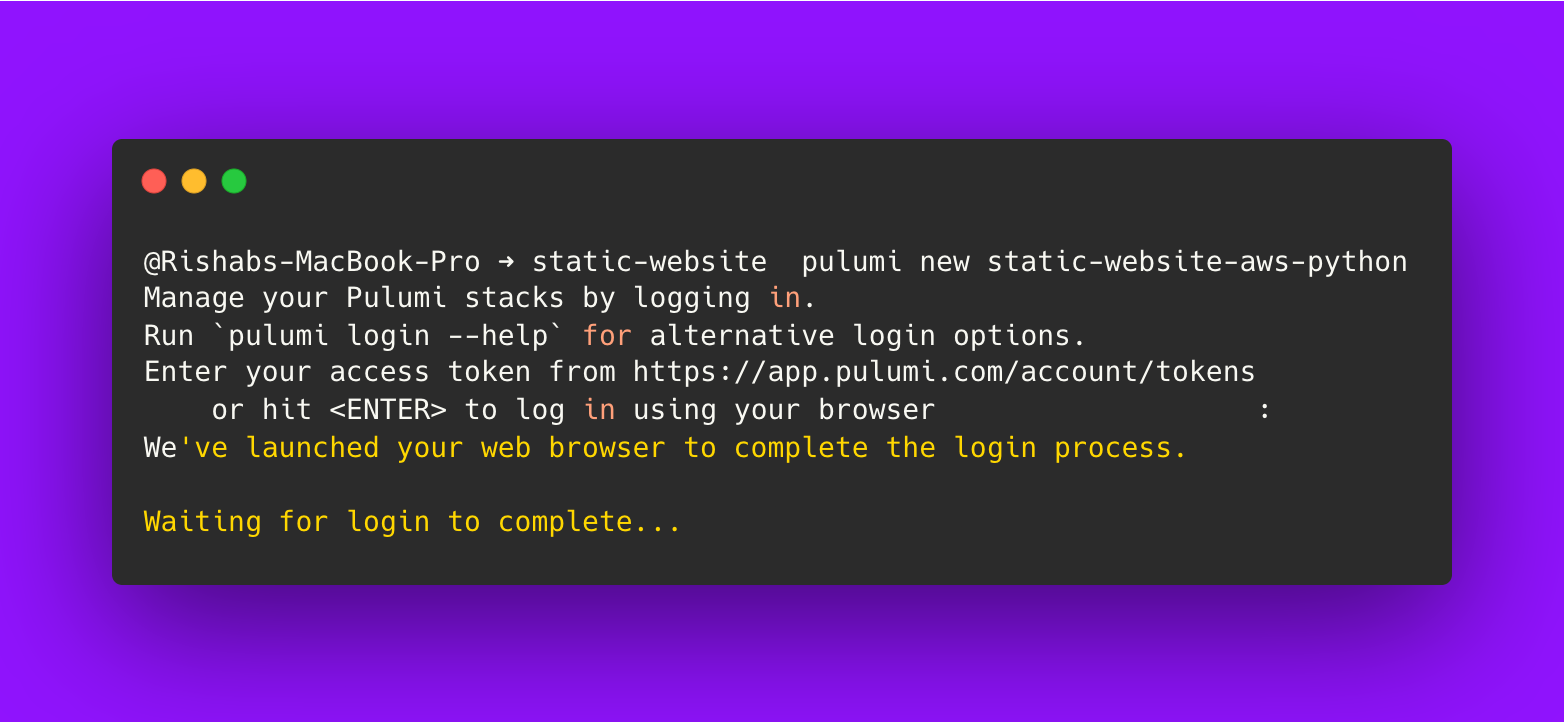
It will ask you to either paste your access token or log in using your browser.
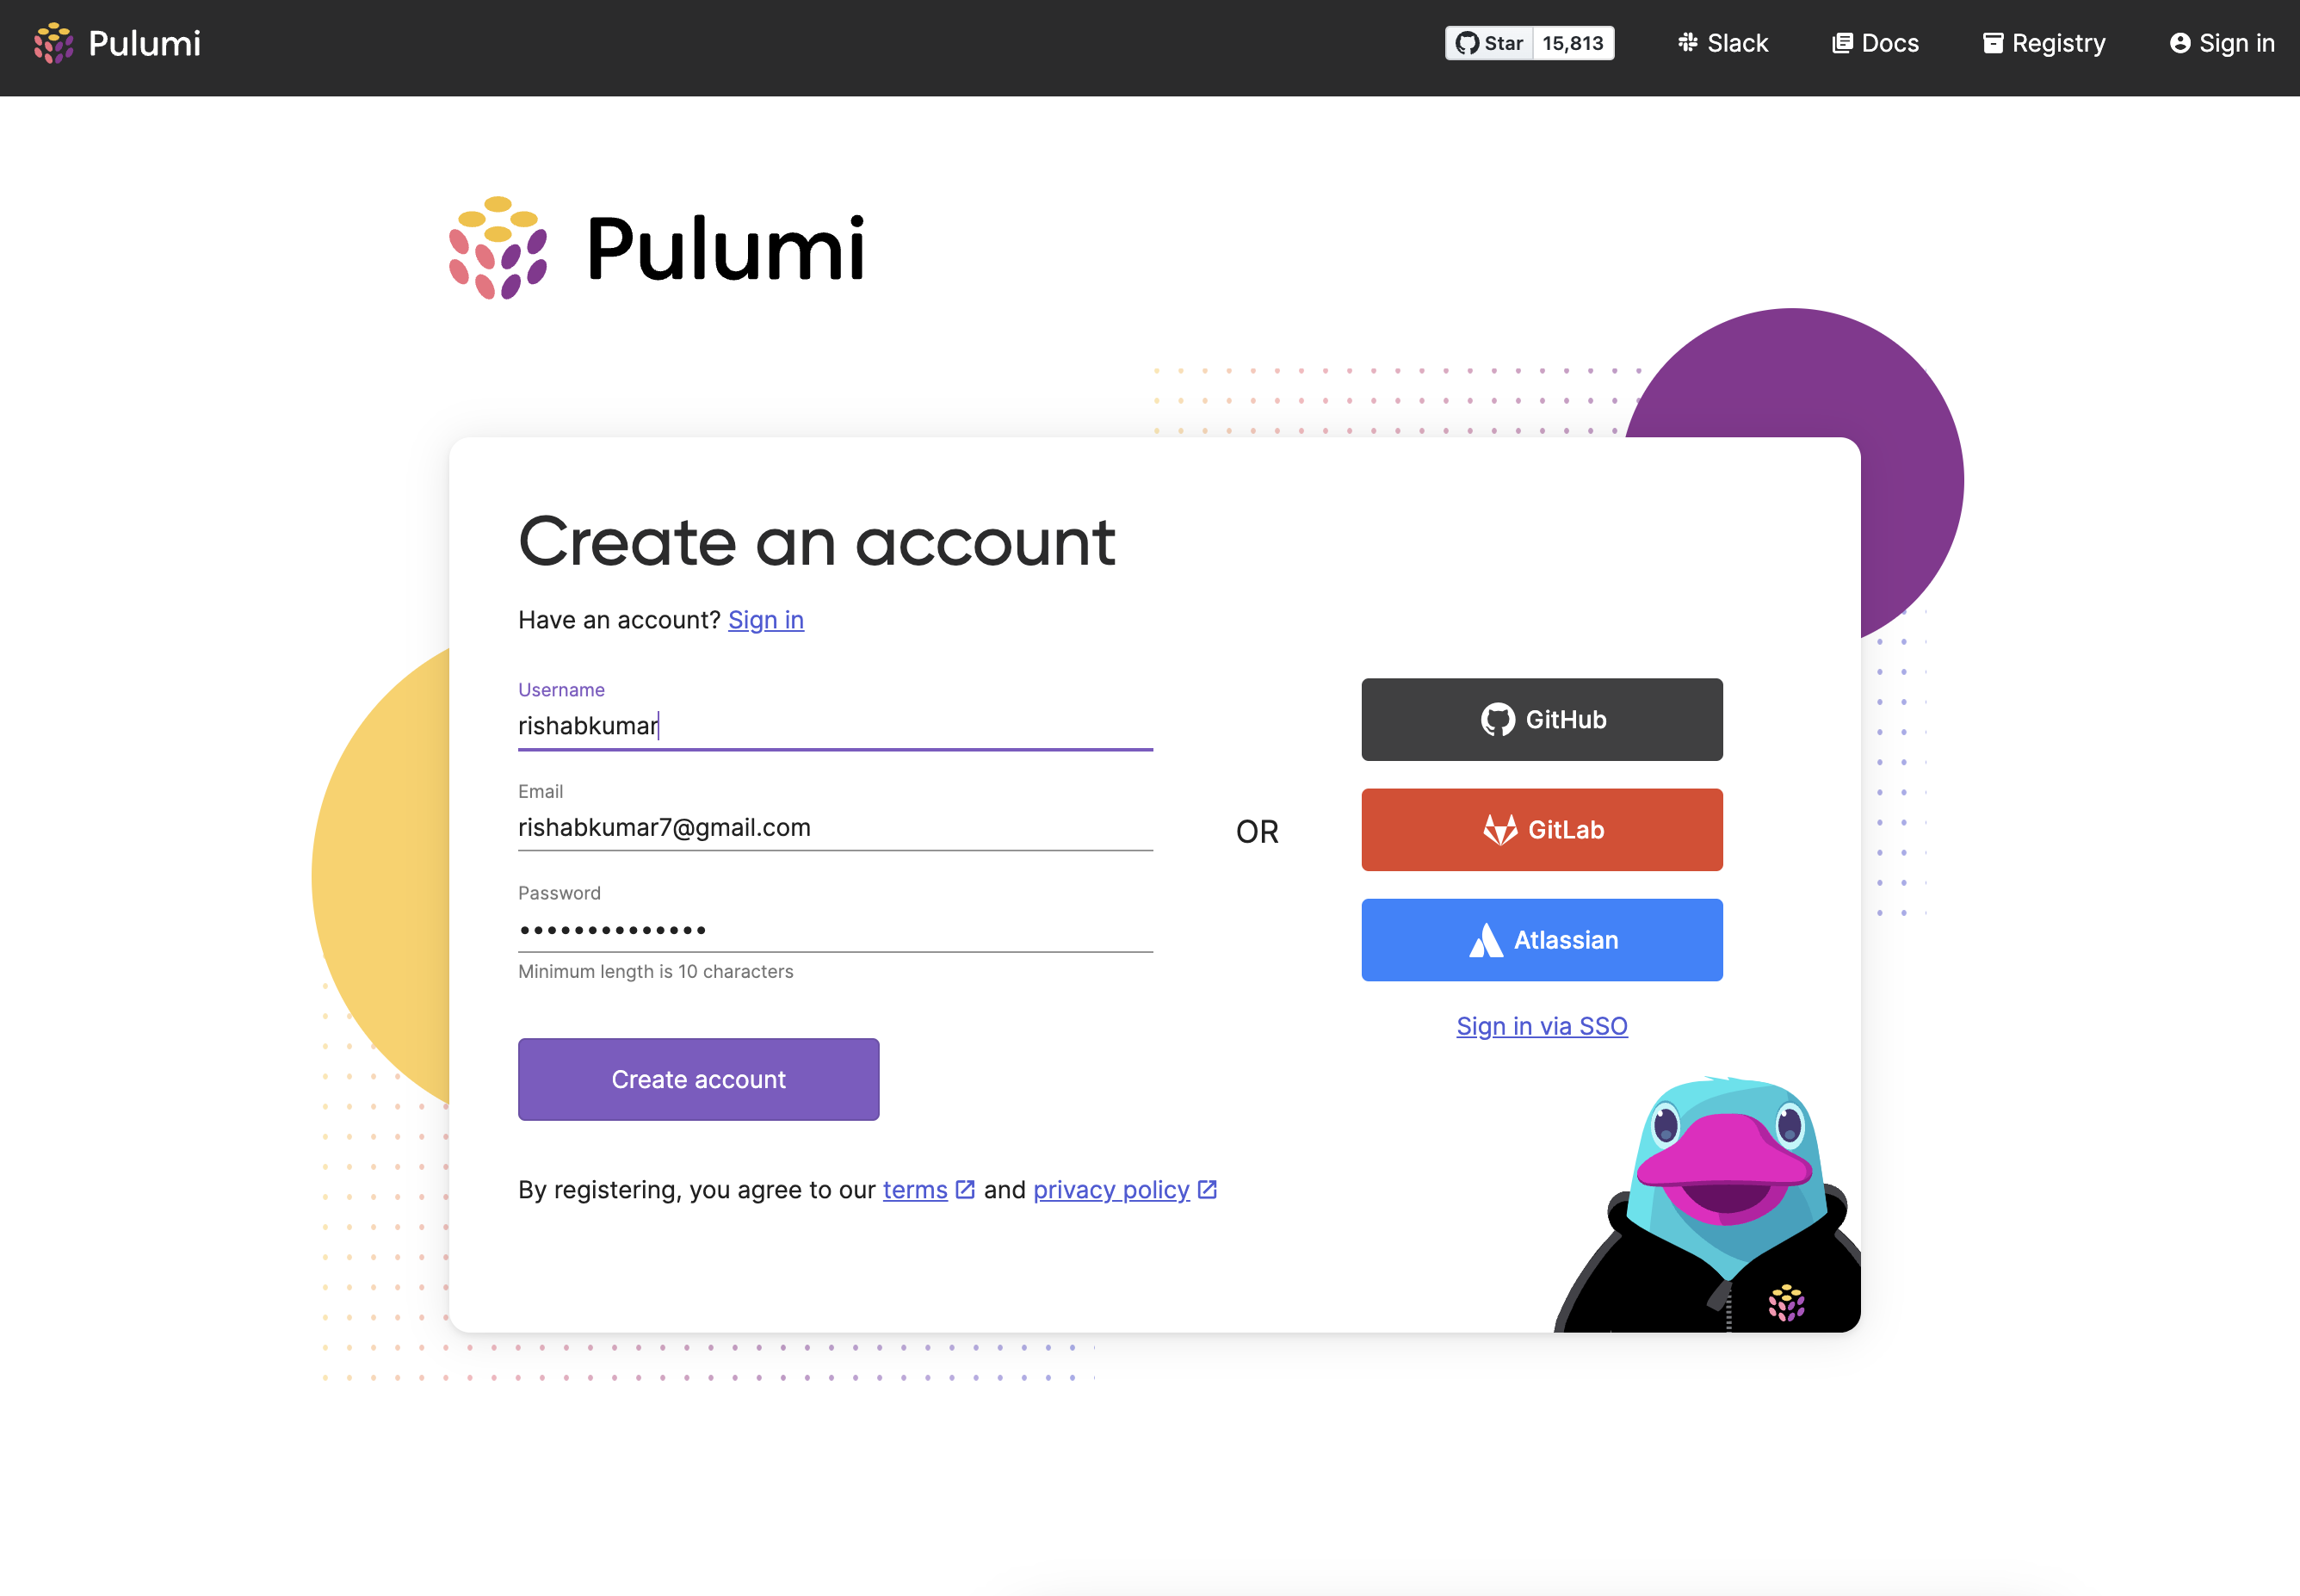
If you haven't created a Pulumi account, go ahead and hit enter, it will launch the browser and take you to the sign-in page. Sign-up for the Pulumi account.
After the account creation is complete, go back to your terminal, and you'll see that the authentication was successful.

Let's go through the project creation setup, after login is complete it will prompt you with project configurations:

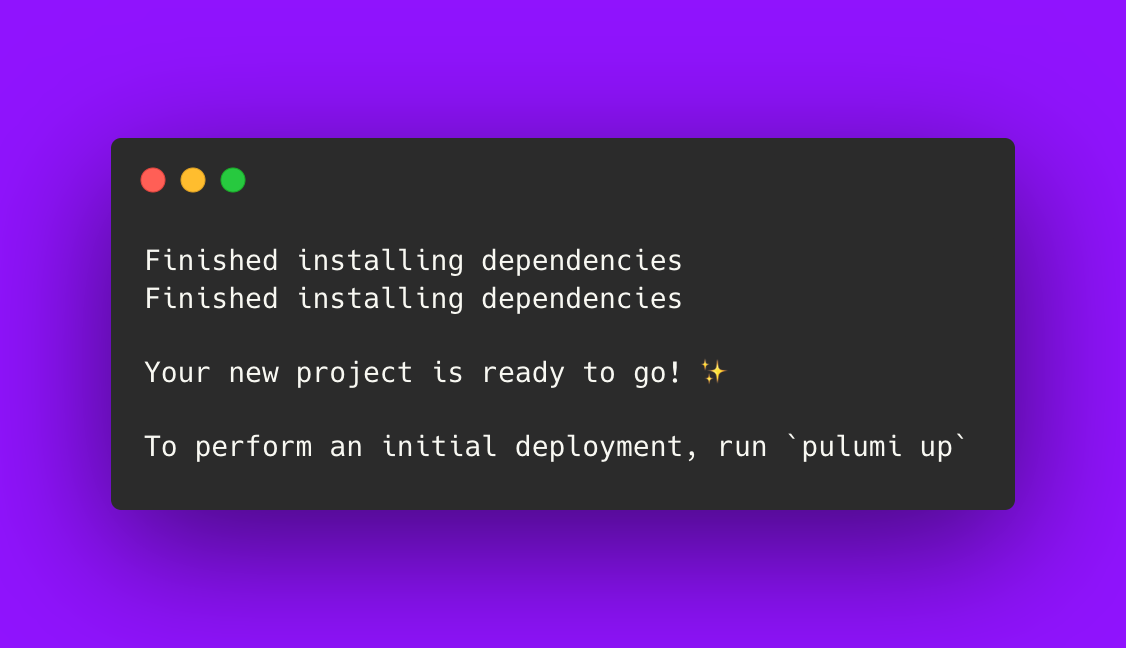
Now you have a finished project that’s ready to be deployed, configured with the most common settings.
Also, let's inspect the code in __main__.py
import pulumi
import pulumi_aws as aws
import pulumi_synced_folder as synced_folder

# Import the program's configuration settings.
config = pulumi.Config()
path = config.get("path") or "./www"
index_document = config.get("indexDocument") or "index.html"
error_document = config.get("errorDocument") or "error.html"

# Create an S3 bucket and configure it as a website.
bucket = aws.s3.Bucket(
    "bucket",
    website=aws.s3.BucketWebsiteArgs(
        index_document=index_document,
        error_document=error_document,
    ),
)

# Set ownership controls for the new bucket
ownership_controls = aws.s3.BucketOwnershipControls(
    "ownership-controls",
    bucket=bucket.bucket,
    rule=aws.s3.BucketOwnershipControlsRuleArgs(
        object_ownership="ObjectWriter",
    )
)

# Configure public ACL block on the new bucket
public_access_block = aws.s3.BucketPublicAccessBlock(
    "public-access-block",
    bucket=bucket.bucket,
    block_public_acls=False,
)

# Use a synced folder to manage the files of the website.
bucket_folder = synced_folder.S3BucketFolder(
    "bucket-folder",
    acl="public-read",
    bucket_name=bucket.bucket,
    path=path,
    opts=pulumi.ResourceOptions(depends_on=[
        ownership_controls,
        public_access_block
    ])
)

# Create a CloudFront CDN to distribute and cache the website.
cdn = aws.cloudfront.Distribution(
    "cdn",
    enabled=True,
    origins=[
        aws.cloudfront.DistributionOriginArgs(
            origin_id=bucket.arn,
            domain_name=bucket.website_endpoint,
            custom_origin_config=aws.cloudfront.DistributionOriginCustomOriginConfigArgs(
                origin_protocol_policy="http-only",
                http_port=80,
                https_port=443,
                origin_ssl_protocols=["TLSv1.2"],
            ),
        )
    ],
    default_cache_behavior=aws.cloudfront.DistributionDefaultCacheBehaviorArgs(
        target_origin_id=bucket.arn,
        viewer_protocol_policy="redirect-to-https",
        allowed_methods=[
            "GET",
            "HEAD",
            "OPTIONS",
        ],
        cached_methods=[
            "GET",
            "HEAD",
            "OPTIONS",
        ],
        default_ttl=600,
        max_ttl=600,
        min_ttl=600,
        forwarded_values=aws.cloudfront.DistributionDefaultCacheBehaviorForwardedValuesArgs(
            query_string=True,
            cookies=aws.cloudfront.DistributionDefaultCacheBehaviorForwardedValuesCookiesArgs(
                forward="all",
            ),
        ),
    ),
    price_class="PriceClass_100",
    custom_error_responses=[
        aws.cloudfront.DistributionCustomErrorResponseArgs(
            error_code=404,
            response_code=404,
            response_page_path=f"/{error_document}",
        )
    ],
    restrictions=aws.cloudfront.DistributionRestrictionsArgs(
        geo_restriction=aws.cloudfront.DistributionRestrictionsGeoRestrictionArgs(
            restriction_type="none",
        ),
    ),
    viewer_certificate=aws.cloudfront.DistributionViewerCertificateArgs(
        cloudfront_default_certificate=True,
    ),
)

# Export the URLs and hostnames of the bucket and distribution.
pulumi.export("originURL", pulumi.Output.concat("http://", bucket.website_endpoint))
pulumi.export("originHostname", bucket.website_endpoint)
pulumi.export("cdnURL", pulumi.Output.concat("https://", cdn.domain_name))
pulumi.export("cdnHostname", cdn.domain_name)
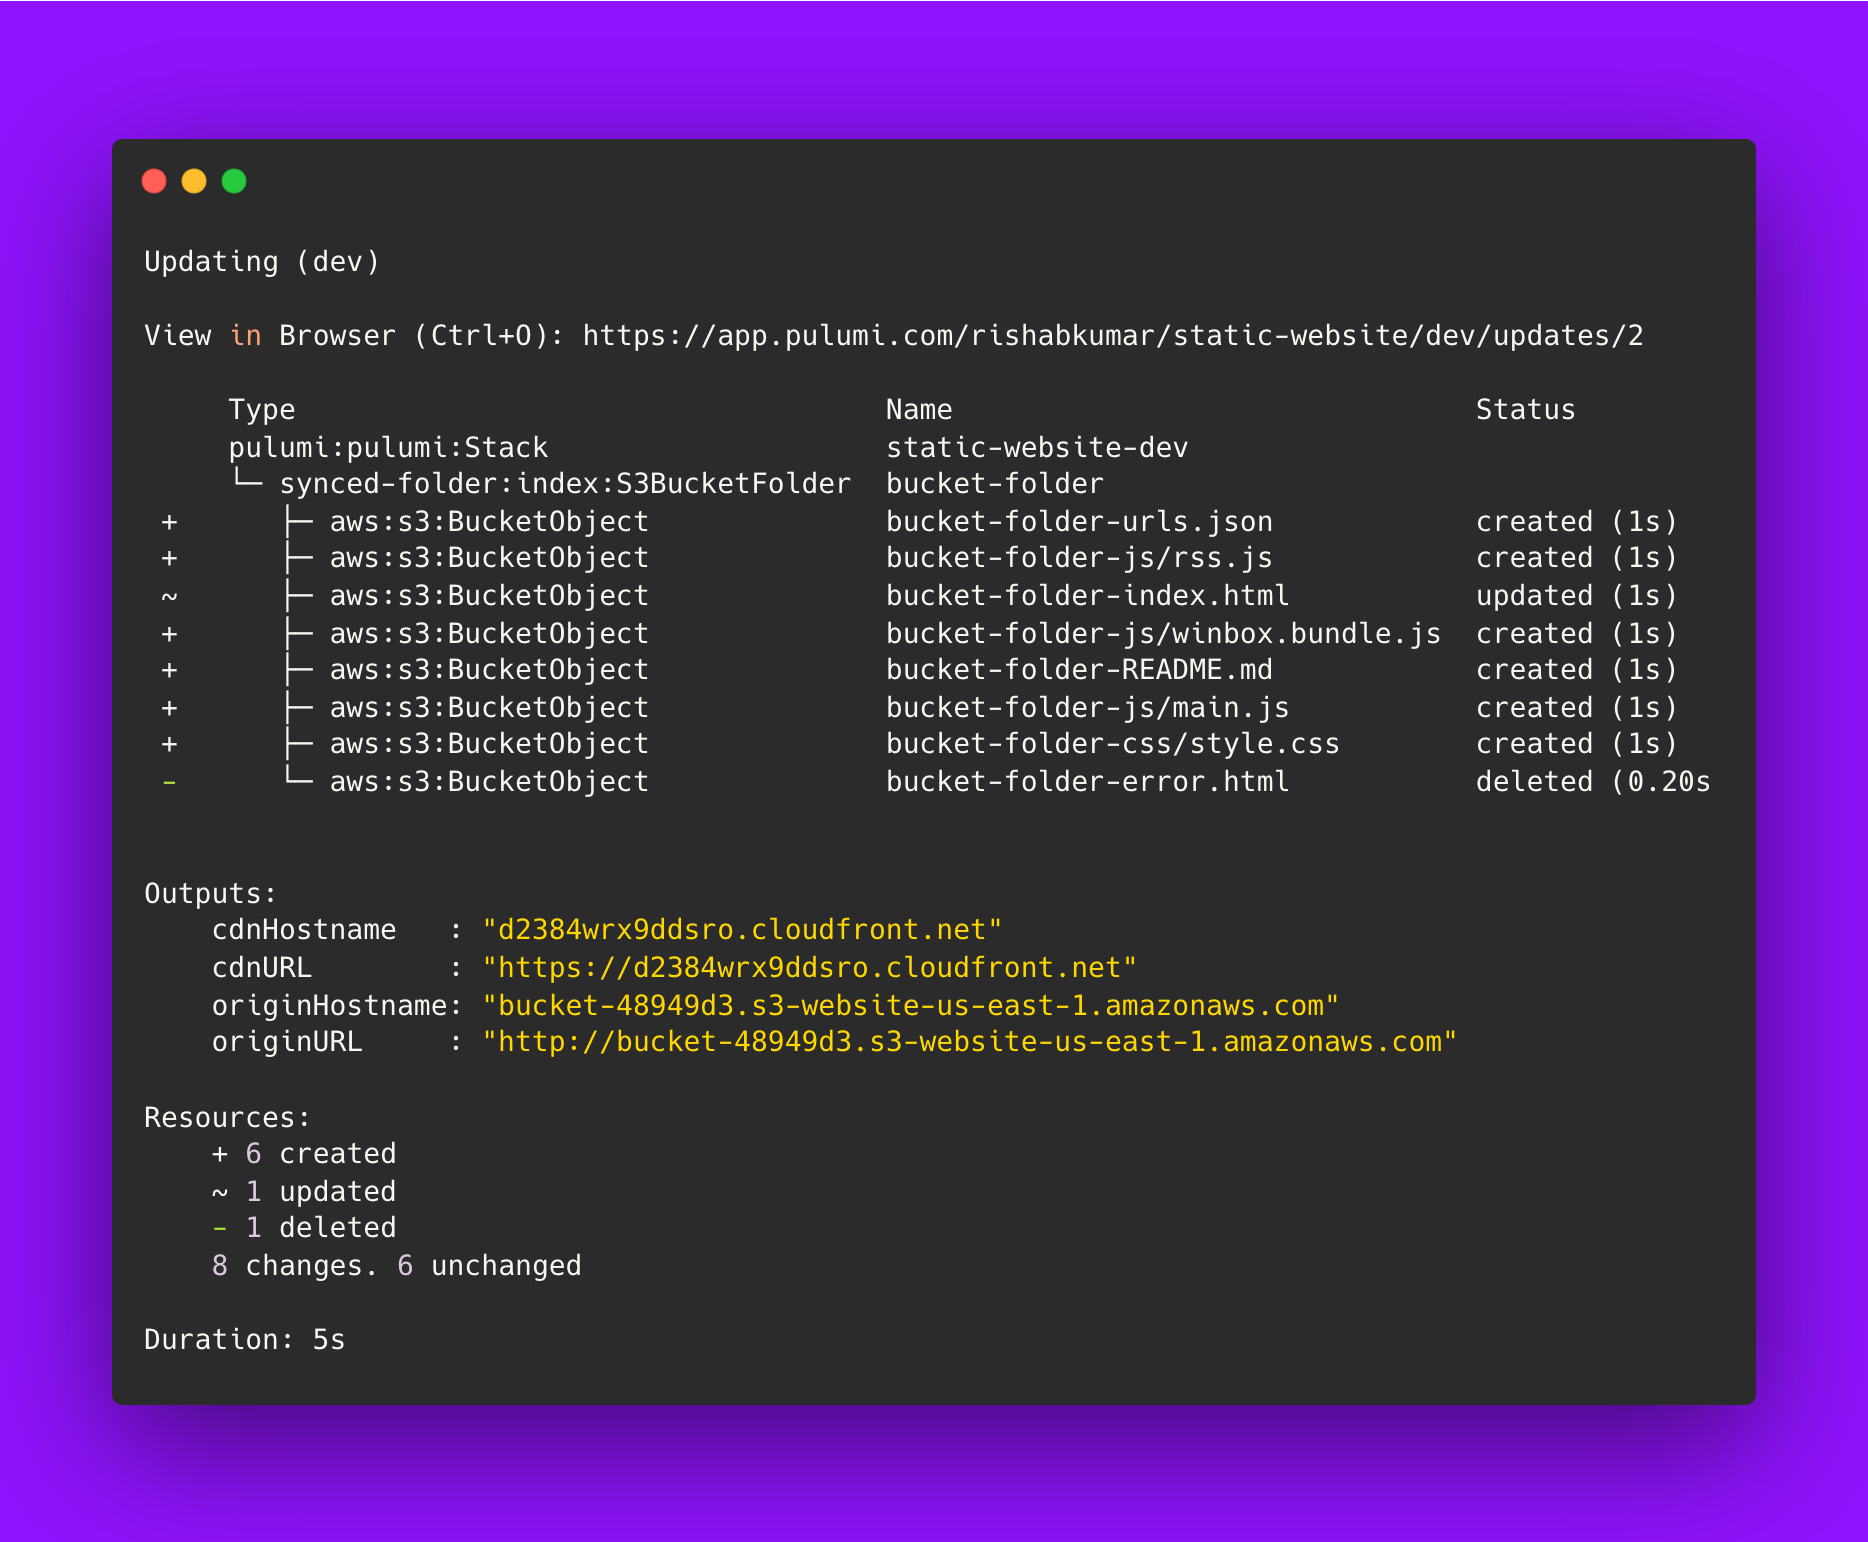
So the template requires no additional configuration. Once the new project is created, you can deploy it immediately with pulumi up:
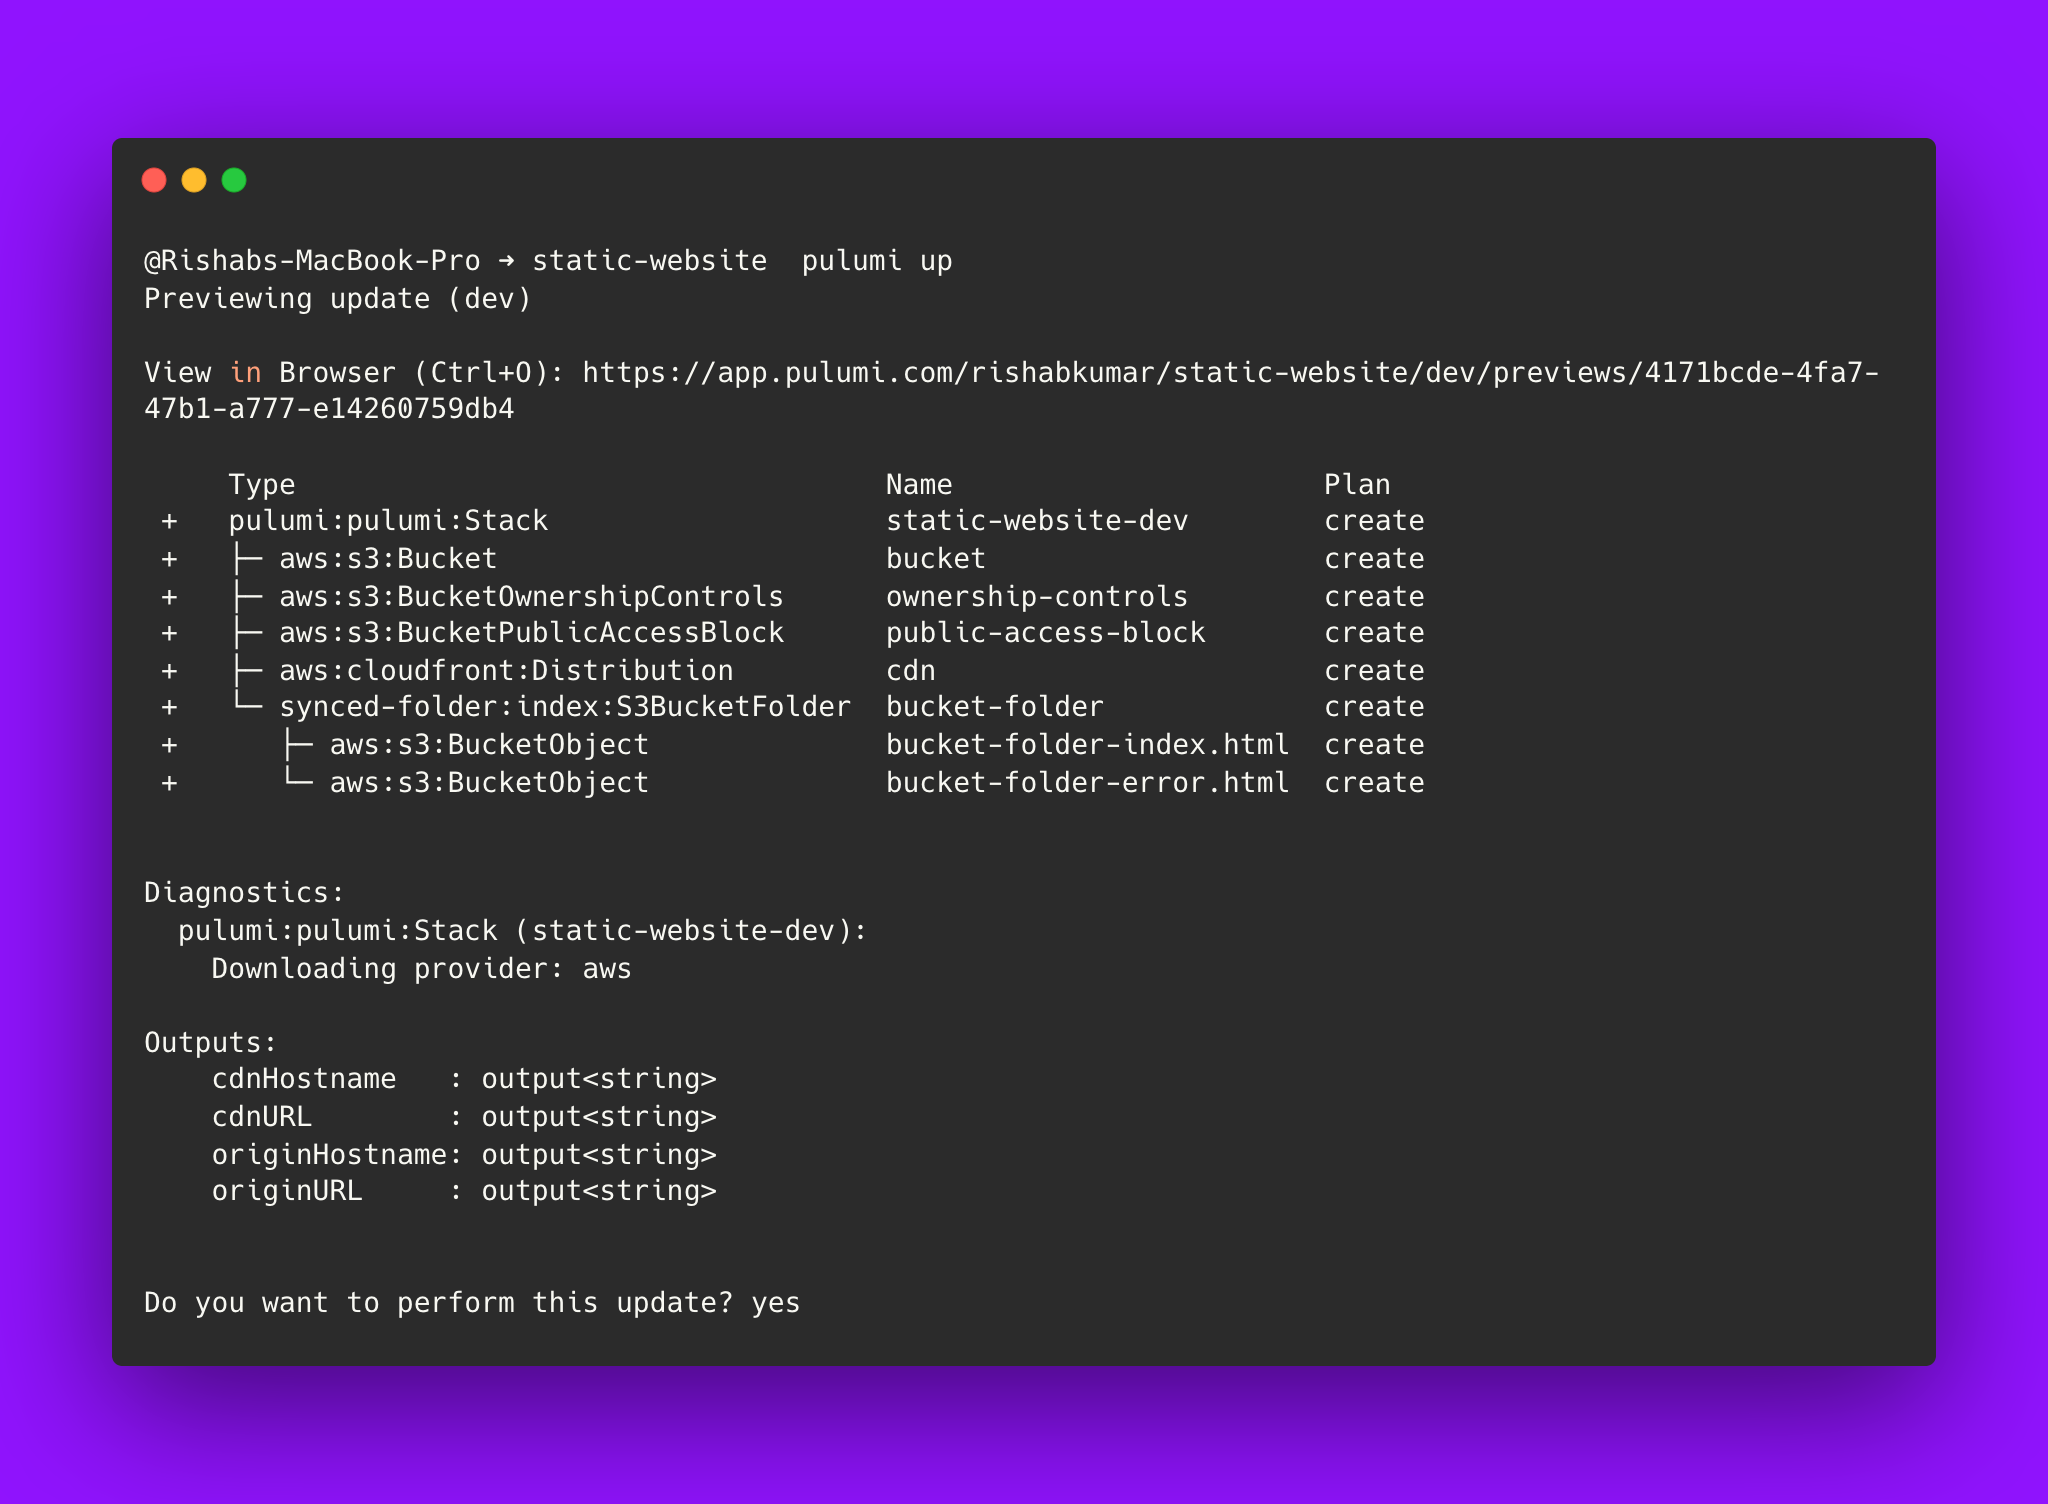
There will be a prompt, asking you if you want to perform this update, type yes and hit enter.
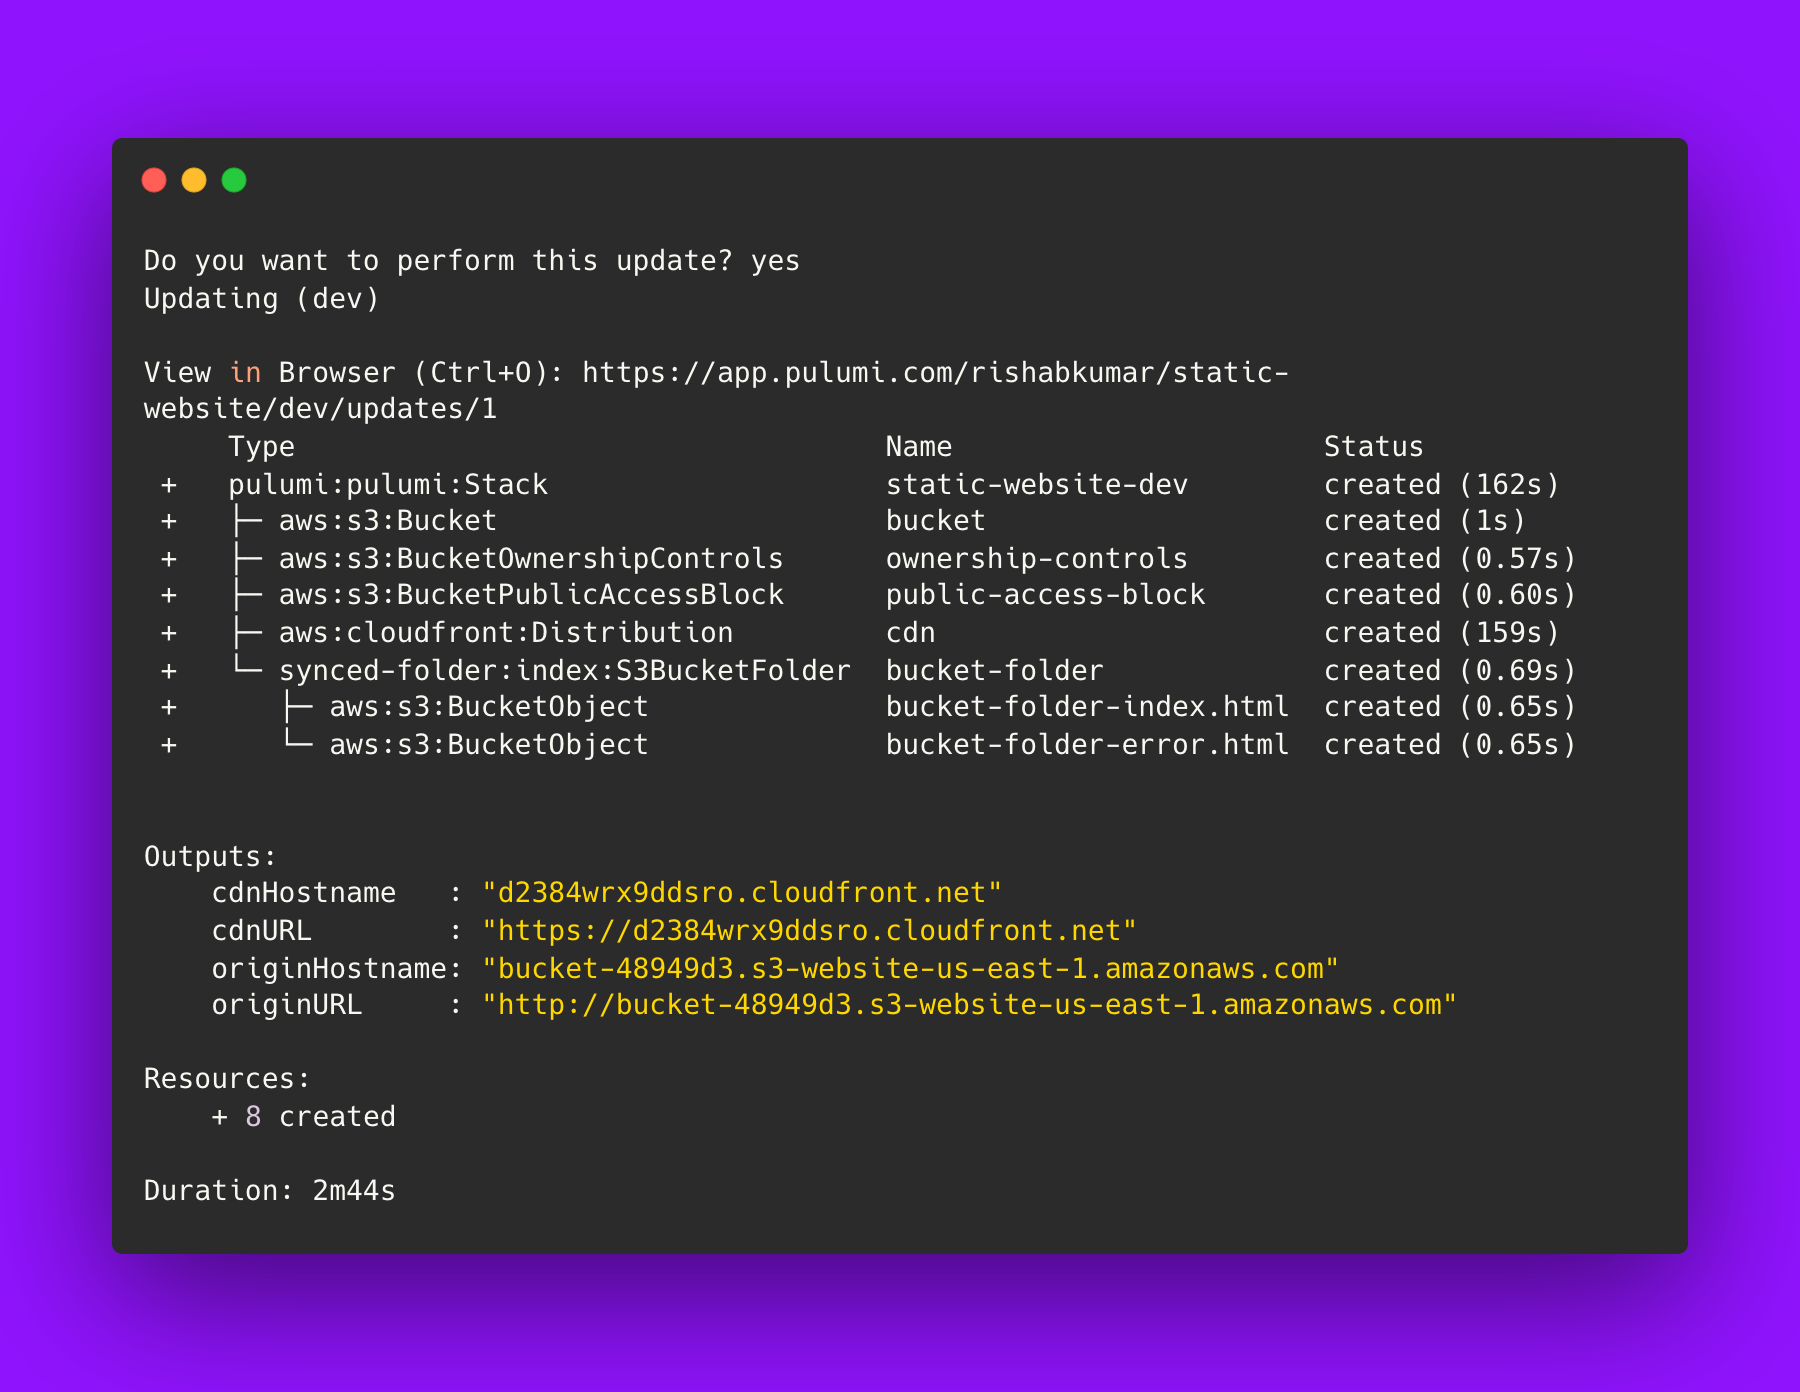
As you can see, it created 8 resources. And also gave us the following outputs:
cdnHostname | The provider-assigned hostname of the CloudFront CDN. Useful for creating |
cdnURL | The fully-qualified HTTPS URL of the CloudFront CDN. |
originHostname | The provider-assigned hostname of the S3 bucket. |
originURL | The fully-qualified HTTP URL of the S3 bucket endpoint. |
Let's check out our static website by visiting the cdnURL which will looks something like this - https://d2384wrx9ddsro.cloudfront.net/.
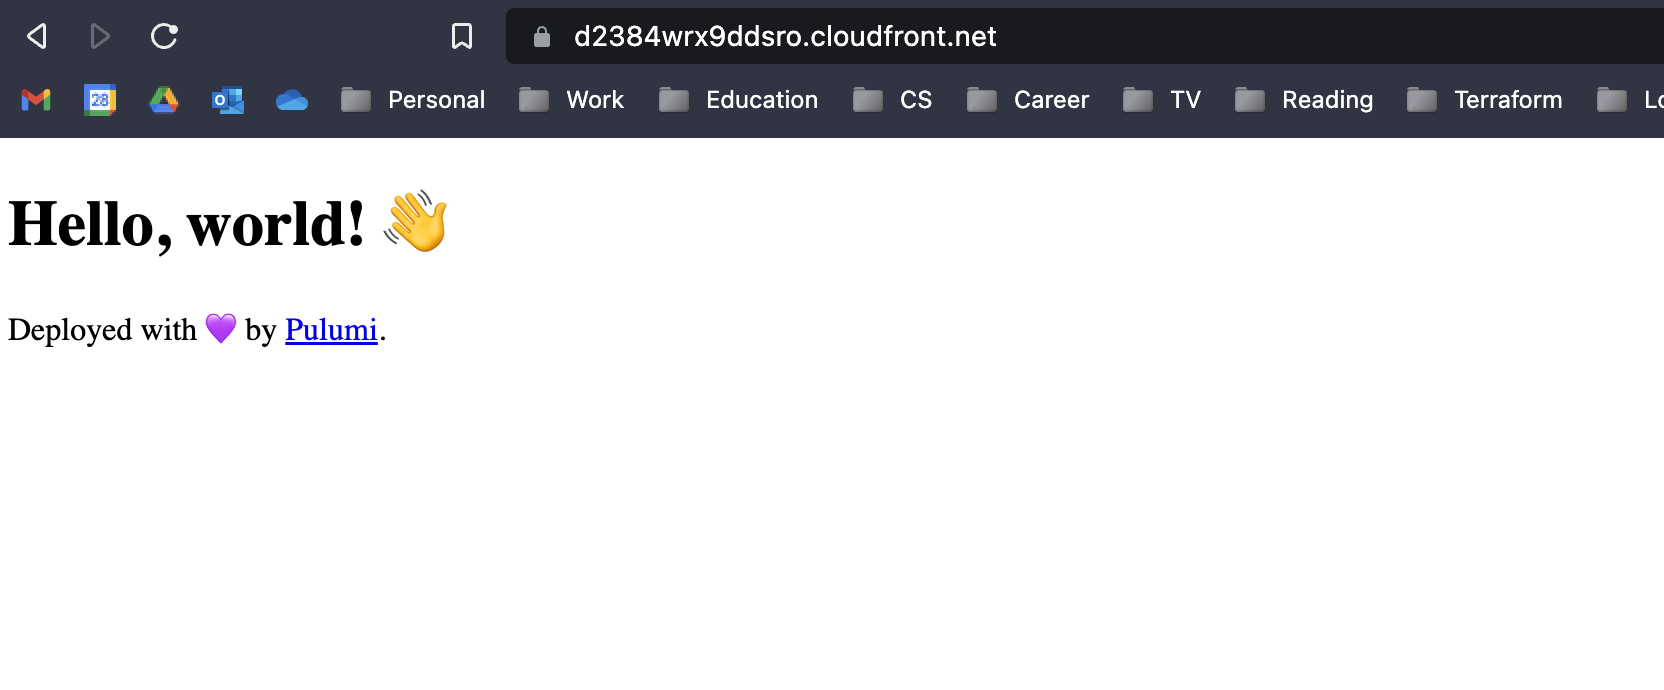
Aye! We have a static website running on AWS!
Customizing the site
To customize the website to be my terminal portfolio, I am going to copy/clone the GitHub repository within our static-website directory.
So, this is what my directory structure looks like now:
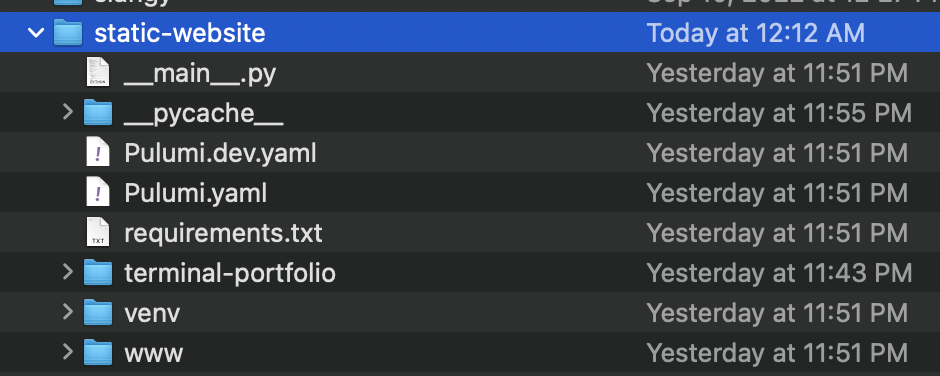
And then using the pulumi config set, I am going to point to terminal-portfolio folder, instead of the www folder, with the path setting:
pulumi config set path terminal-portfolio
And then let's deploy the changes:
pulumi up
You can see that new changes have been deployed, but when you navigate to the CDN URL, it still might show the old "Hello, World!" website, that's due to the cache, by default, the generated program configures the CloudFront CDN to cache files for 600 seconds (10 minutes).
But we can change that!
Let's look at __main.py__ :
default_cache_behavior=aws.cloudfront.DistributionDefaultCacheBehaviorArgs(
        target_origin_id=bucket.arn,
        viewer_protocol_policy="redirect-to-https",
        allowed_methods=[
            "GET",
            "HEAD",
            "OPTIONS",
        ],
        cached_methods=[
            "GET",
            "HEAD",
            "OPTIONS",
        ],
        default_ttl=600,
        max_ttl=600,
        min_ttl=600,
You can change those values to your desired settings.
Let's check my terminal-portfolio again, by visiting the CDN URL - https://d2384wrx9ddsro.cloudfront.net
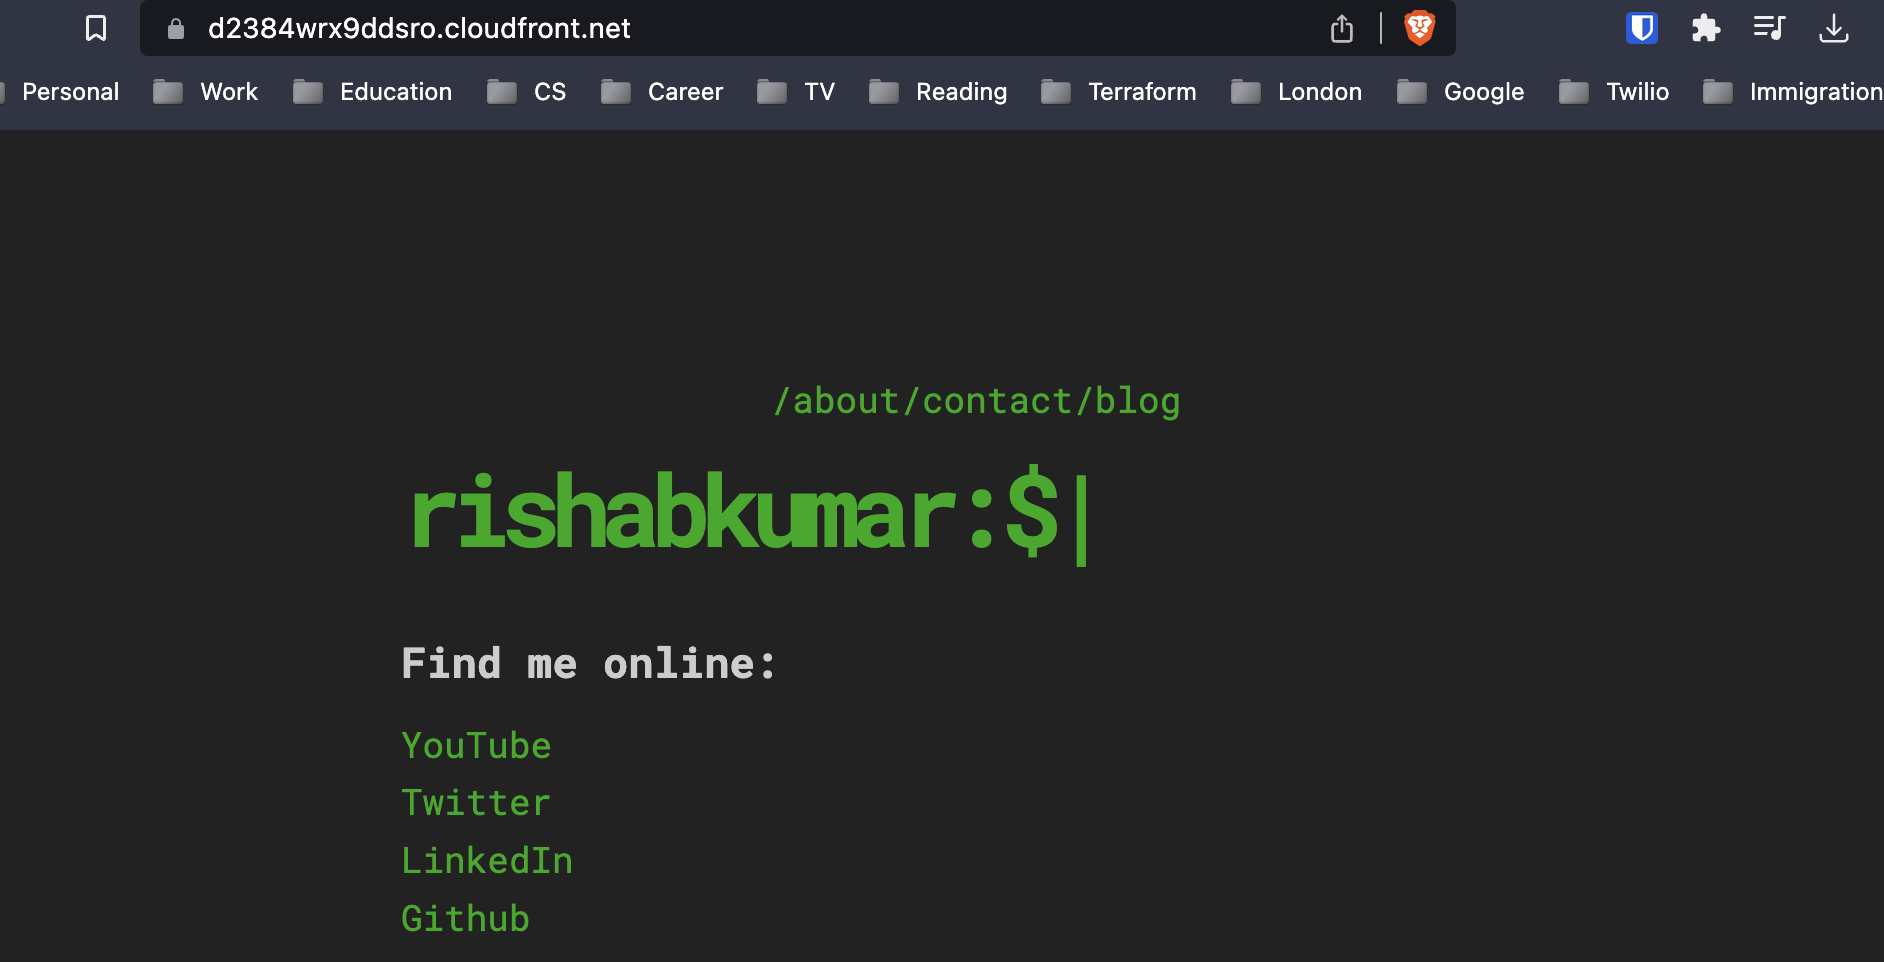
Voila!
In conclusion, Pulumi is a powerful tool for deploying and managing cloud infrastructure with ease. Whether you're new to Pulumi or have used it before, this blog post has shown you how to use it to deploy a static website to AWS.
Follow me here on Hashnode or Twitter/LinkedIn to stay up-to-date with my latest blog posts and tech tutorials.